Managing Extensions and Short Codes
This covers managing extensions and short codes, including adding, removing and modifying them.
- Managing Short Codes
- Viewing Short Codes
- Moving Short Codes to Another Department
- Adding Short Codes
- Modifying Short Codes
- Managing Extensions
Managing Short Codes
Viewing Short Codes
The Short Codes page displays all of the Short Codes in your department.
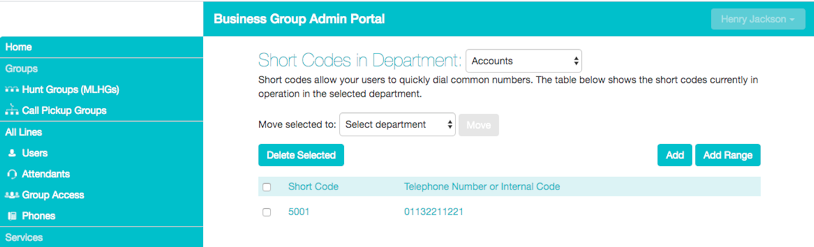
To view Short Codes in sub-departments, select the sub-department from the drop-down list at the top of the page.
To view all of the Short Codes for all departments, select View All from the department drop-down list.
You will only see the Import and Export All buttons if you are a root administrator for the Business Group. These options allow you to add large numbers of short codes and/or short code ranges, and are described in 8, Importing and Exporting short codes. A Business Group can have up to 10,000 short codes and/or short code ranges, of which 1,000 can have names.
Moving Short Codes to Another Department
To move Short Codes between departments, follow these steps:
-
- Select the Short Code or Short Code range using the checkbox to the left of the Short Code or Short Code range.
- Select the department you wish to move the Short Code or Short Code range to using the drop-down list at the top of the page.
- Click on the Move
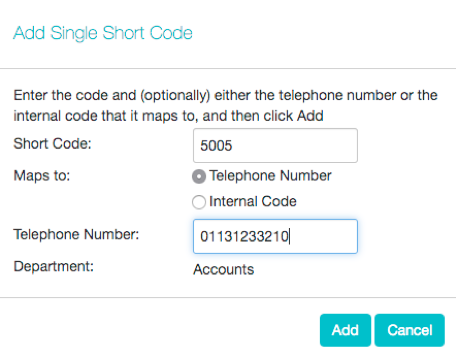
Adding Short Codes
To create a new Short Code, follow these steps:
-
- Click on Add.
- Enter the number of the Short Code to add.
- Enter the telephone number or internal code the Short Code should dial. Note that if you are going to add a name, you can only have one short code that contains this telephone number.
- If the short code should be in a specific Department, use the drop-down to select it.
- Optionally add a name for this short code. If this short code is configured with a full national or international number, this name will be delivered as CNAM to the Business Group lines if the external DN matches the incoming caller ID.
- Named short codes will also be included in Business Group and CommPortal contact lists, including a Business Address book that can be accessed on the CommPortal interface and on supported SIP phones.
- You can have up to 1,000 named short codes or short code ranges in a Business Group.
- Click on Add.
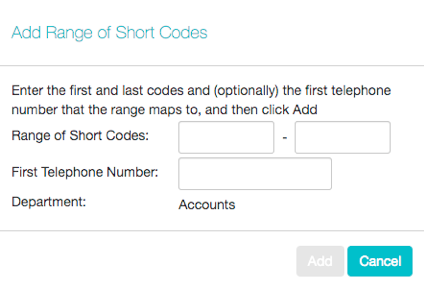
 Adding Short Code Ranges
To create a new Short Code range, follow these steps:
-
- Click on Add Range.
- Enter the first and last numbers of the Short Code range to add.
- Optionally, enter the telephone number or internal code the first Short Code in the range should dial.
- Optionally, add a name for this short code range. This name will be used for any incoming call from the range of telephone numbers covered by this short code range but will not appear in the Business Group directory or contacts.
- Click on Add.
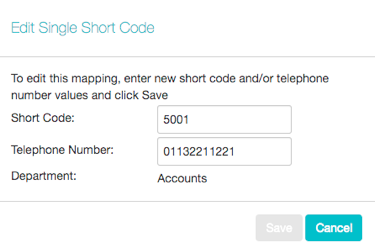
Modifying Short Codes
Short Codes
To modify an existing Short Code, follow these steps:
-
- Click on either the Short Code number or the number the Short Code dials.
- Modify the details.
- Click on Save.
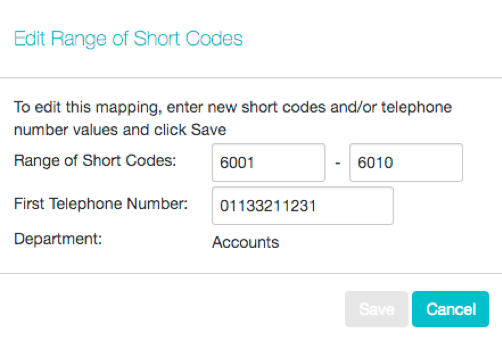
Short Code Ranges
To modify an existing Short Code range, follow these steps:
-
- Click on either the Short Code range numbers or the numbers the Short Code range dials.
- Modify the details.
Deleting Short Codes and Short Code ranges
To delete Short Codes and Short Code ranges, follow these steps:
-
- Select the Short Code or Short Code range using the checkbox to the left of the Short Code or Short Code range.
- Click on the Remove Selected
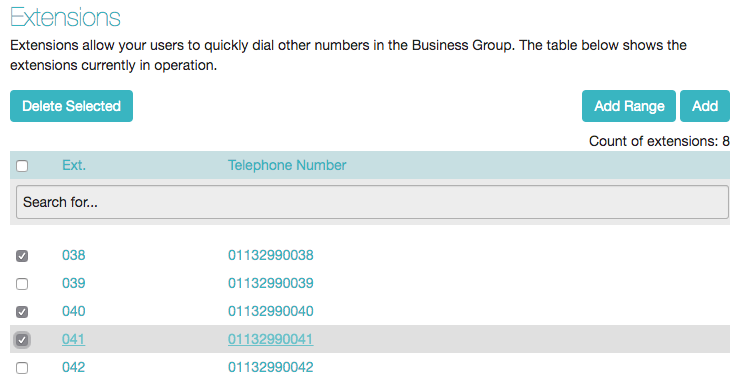
Managing Extensions
Viewing Extensions
The Extensions page displays all of the Extensions in your business.

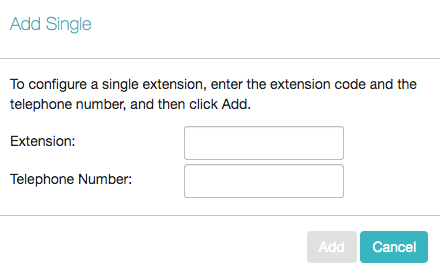
Adding Extensions
To create a single new Extension, follow these steps:
-
- Click on Add.
- Enter the number of the Extension to add.
- Enter the telephone number of the line in your business that this Extension should map to.
- Click on Add.
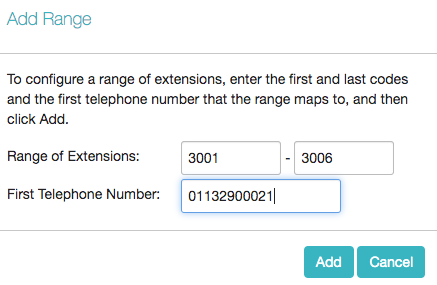
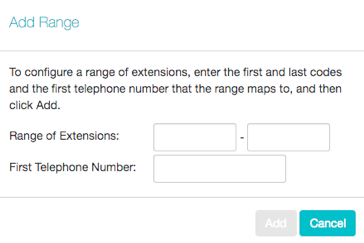
To create a new Extension range, follow these steps:
-
- Click on Add Range.
- Enter the first and last Extension numbers to add.
- Enter the telephone number of first line in your business that this Extension range should map to.
- Click on Add.
Modifying Extensions
To modify an existing Extension, follow these steps:
-
- Click on either the Extension number or the phone number of the Extension.
- Modify the details.
- Click on Save.
To modify an existing Extension range, follow these steps:
-
- Click on either the Extension range numbers or the phone numbers the Extension range dials.
- Modify the details.
- Click on Save.
To delete Extensions and Extension ranges, follow these steps:
-
- Select the Extension or Extension range using the checkbox to the left of the Extension or Extension range.
- Click on the Delete Selected