Configuring Standard Auto Attendant Menus and Schedules
You should now begin configuring your Standard Auto Attendant menu(s) and schedules.
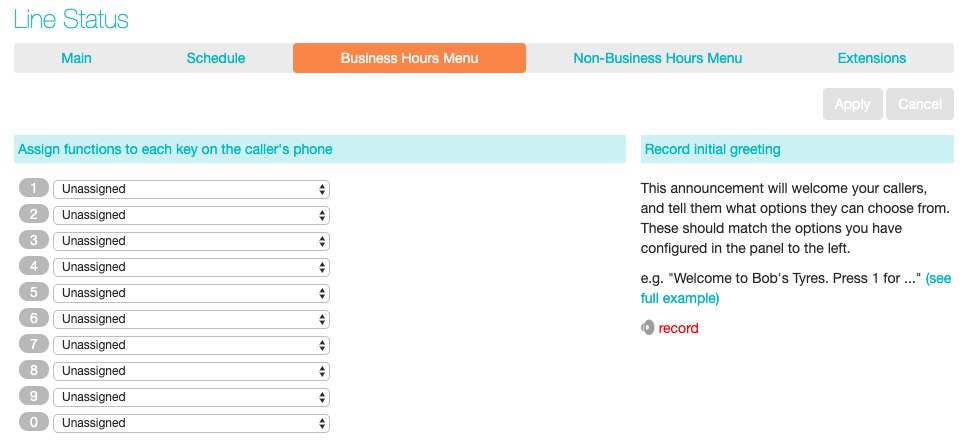
Select either the Business Hours Menu tab or, if you are using a single menu, the Standard Auto Attendant Menu tab.
First, set up your Standard Auto Attendant by recording the initial greeting.
If you are using the Dial By Extension option, you should ensure that this initial greeting includes the option for a caller to dial an extension immediately if they know the extension number of the person or department they want to reach.
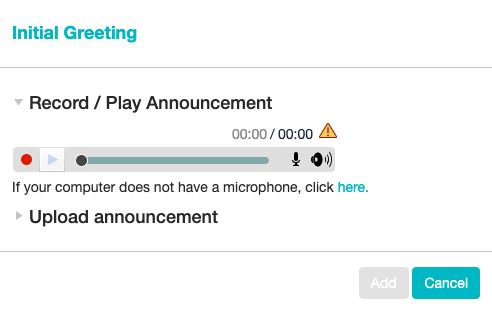
Select the record option on the lower right of the screen. This launches the announcement recorder, where you can either record an announcement, or upload a pre-recorded announcement.
Once you have recorded or uploaded your initial greeting, you can return to the Menu tab.
Now you are ready to define the specific menu items as defined in your plan to one of the following options.
- Play Announcement
- Transfer to Phone
- Transfer to Voicemail
- Dial by Extension
- Dial by Name
If you are using a different menu for non-business hours, you should now set up the initial recording and configure the menu options on the Non-Business Hours Menu tab.
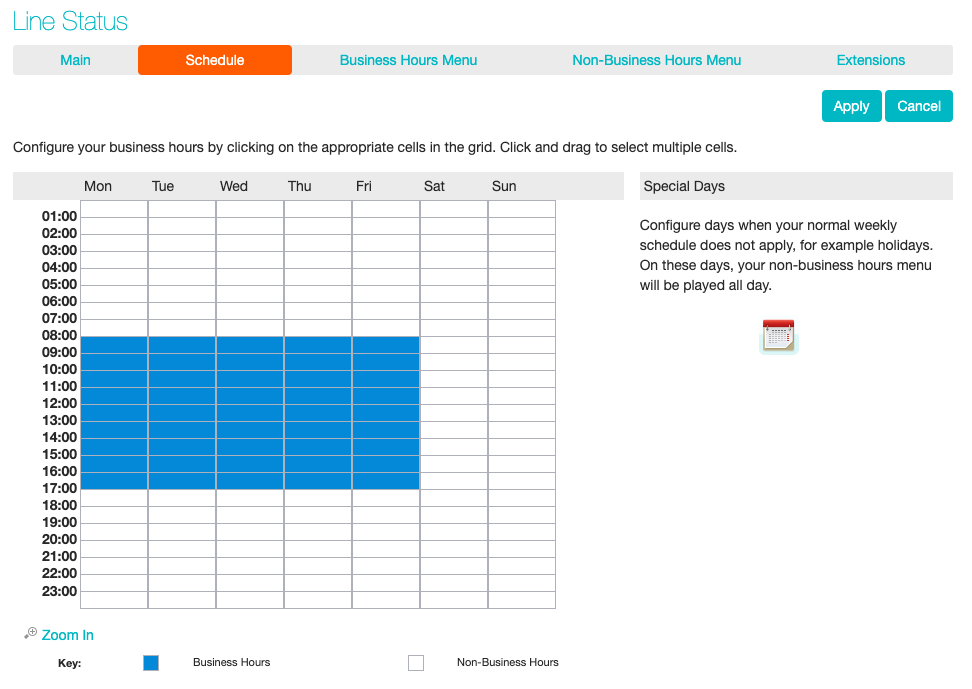
Next you will need to establish your working hours by selecting the Schedule Once in the Schedule screen, click on the Business Hours key and then click in the calendar and while holding down the left mouse button drag the mouse across the calendar to indicate the business hours. In the example below, the business hours are Monday – Friday from 9:00 am until 5:00 pm. Any other time are considered non-working hours.
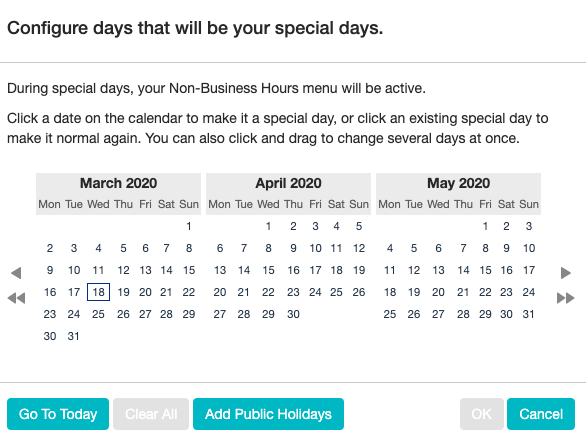
Next you will need to select any non-working days such as holidays by clicking on the calendar icon in the Special Days section of the Schedule page. You can choose individual non-working days by clicking on the date in the calendar, or you can use the Choose Public Holidays option to automatically add public holidays for your region.


