Configuring Advanced Auto Attendant Menus
Next you will need to set up your Advanced Auto Attendant menu options. By default, there are two menus defined in Advanced Auto Attendant. These could be used as your main business hours menu and you main non-business hours menu. You can add additional menus as required by clicking the Add button.
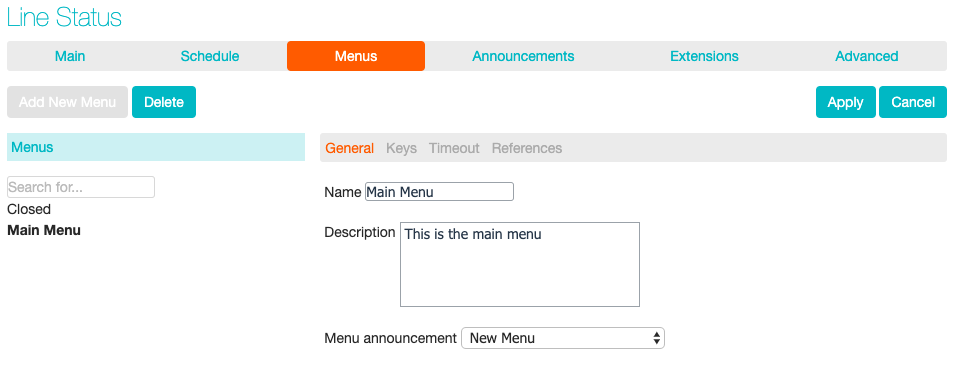
Begin to configure your menu by providing a name and description and selecting the Menu announcement to be used by this menu, and then click Apply.
Next you will need to configure the action for each key pressed for your menu by selecting the Keys link and then selecting an option using the dropdown menus for each key pressed in the menu.
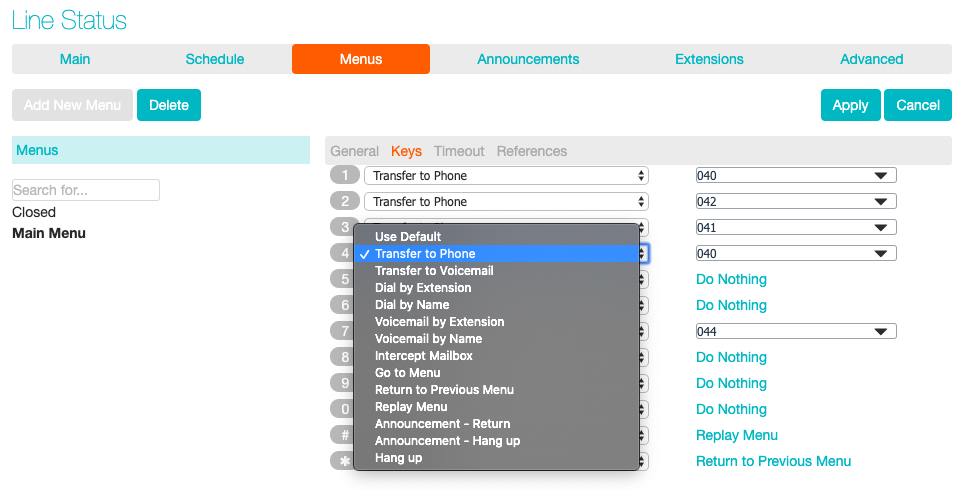
The options available for each key are as follows:
- Use Default (This option is default for all keys for new menus)
- Transfer to Phone
- Transfer to Voicemail
- Dial by Extension - including whether an announcement is automatically played giving initial instructions when this key is pressed, or whether these instructions must be recorded by the subscriber in the menu announcement
- Dial by Name
- Voicemail by Extension
- Voicemail by Name
- Intercept mailbox
- Go to Menu
- Return to Previous Menu
- Replay Menu
- Announcement – Return
- Announcement – Hang up
- Hang up
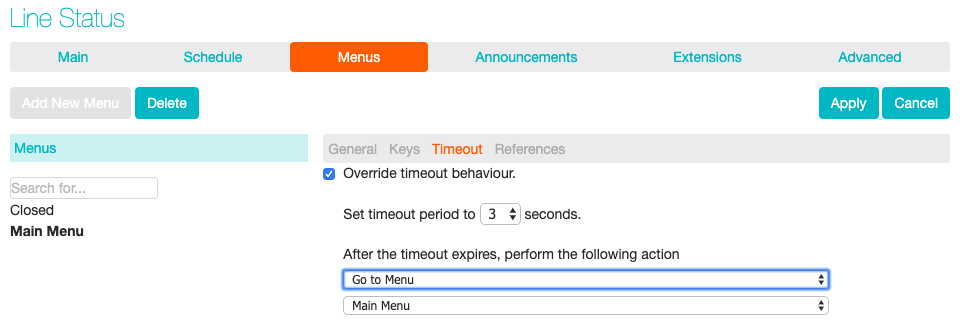
Next, you will need to configure the timeout behaviour of your menu to address callers that do not press a key in this menu. Enter the timeout duration and the timeout behaviour from the dropdown list as seen below and click Apply.