How Do I Recorded A Meeting?
| INFO: Recording of meetings is only supported on the Pod Connect for Desktop. If you do not have the Meeting options, please contact your Service Provider to have this enabled. |
By default all Recordings will be saved on the following locations:
- Mac OS: /Users/Your-User-Name/pod connect
- Windows: C:\Users\Your-User-Name\pod connect
You can change this location from the Options panel
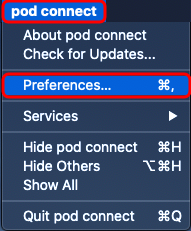
From Mac OS click on pod connect > Preferences...
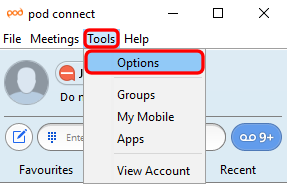
From Windows click on Tools > Options
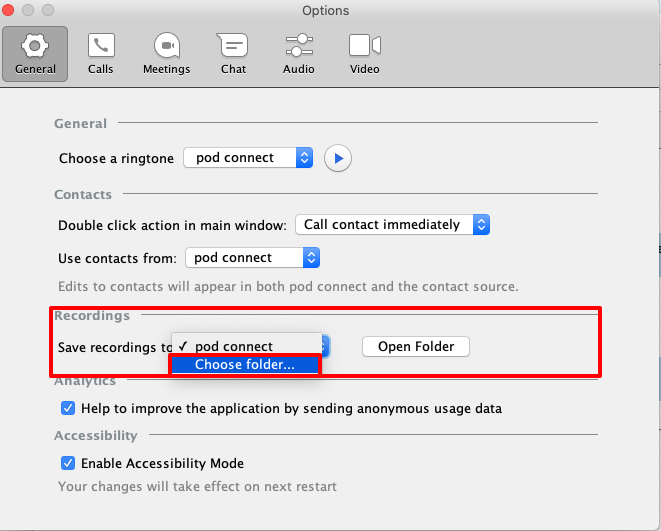
Under Recordings click on the drop down menu and click Choose folder... Browse to the folder you wish to use for Recordings and click on Choose
| INFO: Saving automatically to a cloud storage provider is not supported at this time. However if you use any of the following iCloud Drive, Google Drive, Dropbox or similar that uses synchronisation of folders you can then select that folder. Note that this would still leave the a local copy on your computer in that folder. |
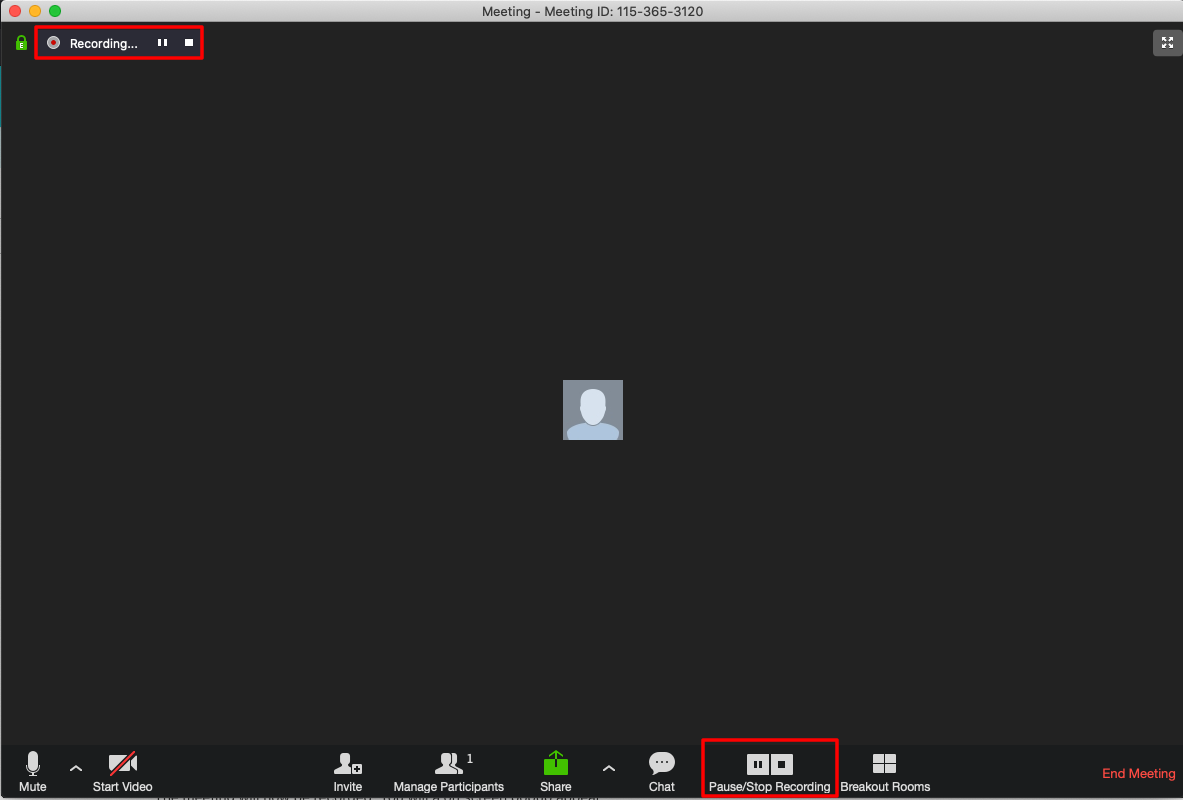
To record your meeting, once you are logged into the Meeting click on the Record button.

The meeting will now start recording. You will a on screen popup appear

From the Meeting screen you can either Pause or Stop the recording by using the Pause or Stop buttons.
When the Meeting is paused you will see the following in the top left hand corner of the meeting screen

When you stop the recording the file will be converted into an mp4 file. This will be saved in the folder location you setup earlier. This will create a sub folder with the date, time and Meeting ID the mp4 file will include both video and audio, an audio only file will also be created in the folder.
| TIP: If you have issues playing the recording files, you could use an alternative player like VLC Player from https://www.videolan.org/ |